foodsofjane
  • Home
  • Recipes
  • CLE
  • Contact
  • Home
  • Recipes
  • CLE
  • Contact
Search

Pepperoni & Hot Honey Pizza

6/19/2020

6 Comments

 
I've discovered the most perfect pepperoni in the world. Introducing, Hormel Cup n' Crisps. Out of all the different kind of pepperoni meats I've tried with making pizza, this one is by far my favorite. They curl up so nicely into the perfect little cup to hold one of my other favorite pizza toppings of all time - spicy hot honey.
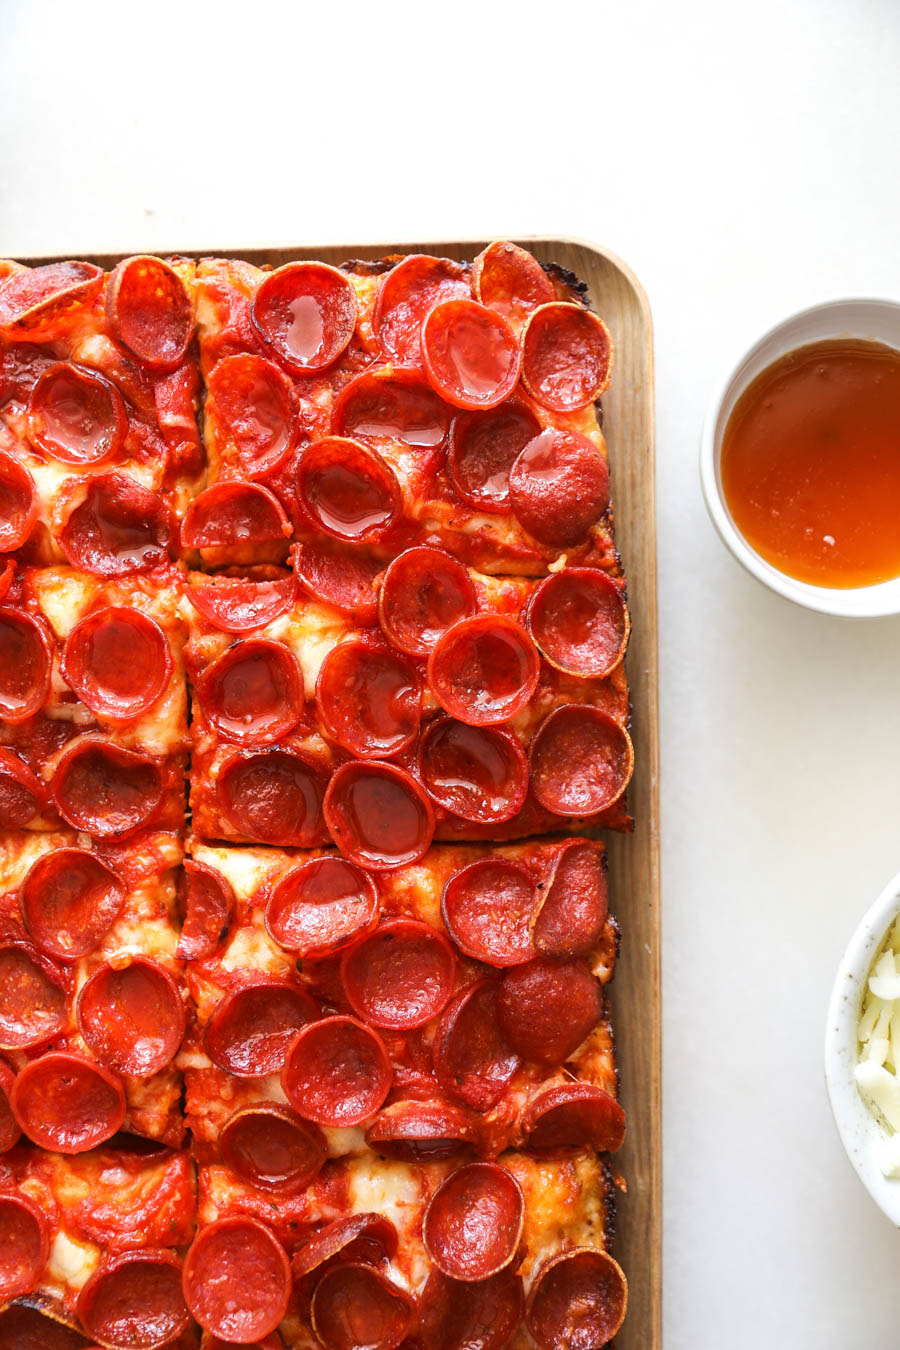
Picture
What you need:
  • 2 cups of bread flour
  • 1 tsp dry active yeast
  • 1 1/2 tsp salt
  • 1 cup room temp water but remove 1 tbsp of it before adding to flour
  • 1 tbsp butter for greasing the pan
  • 1 cup your fave pizza sauce
  • 1 cup low moisture thick shredded mozzarella cheese
  • 1 (5 oz) package of Hormel Pepperoni Cup n' Crisp
  • Spicy honey or you can use regular honey and red pepper flakes
What to do: 
  1. Add the flour, yeast and salt to a stand mixer and combine with a few turns of the dough hook. Add the water and mix on the lowest setting with the dough hook until a ball forms. Let that rest for 10 minutes.
  2. On the lowest speed setting, knead the dough with the dough hook for 10 minutes - the dough shouldn’t be sticking to the sides, only the bottom of the bowl.
  3. It should be kinda sticky unlike pasta dough, and silky. Remove the hook from the kneaded dough and set the dough in the bottom of the stand mixer bowl. Cover tightly and let rest for 2 hours in a warm place.
  4. Spread a tablespoon of room temp butter all over a 9x13 baking sheet.  Then spread out the dough. (It shouldn’t stretch all the way to the edges just yet, so do the best you can and then cover the dough in the baking sheet with saran wrap and let it rest for 30 more minutes.
  5. Preheat your oven to 550° F or as high as it can go. (Mine only goes to 525° F)
  6. After the dough relaxes for the 30 extra mins, spread it all the way to the edges and make sure it’s evenly distributed.
  7. Coat the pizza dough with a thin layer of your fave pizza or marinara sauce. Cover with cheese, all the way to the edges. (All the way to the edges is important for crisping the crust because the cheese melts and seeps down to crisp it all the way to the bottom of the pan.)
  8. Add a few additional dollops of pizza sauce to the on-top of the cheese, I do around 8-10 randomly but evenly distributed.
  9. Since the Hormel Cup n' Crisp pepperonis curl up so well, they will shrink in size, so it's important to use the whole packet of them to line the pizza. Overlapping is encouraged, and it should look overcrowded but don't worry it'll turn out perfect!
  10. Cook the pizza on the very bottom of the oven (not the rack, the actual oven) for 6 minutes. This achieves a crispy bottom crust! After the 6 minutes, move it up to the next level and lowest rack of your oven. This will finish off the melty cheese and crips up the pepperonis while preventing the bottom of the pizza crust to burn or blacken.
  11. Once you take it out of the oven, drizzle with either hot honey or regular honey and spicy red pepper flakes. Let it cook for a few minutes and the carefully transfer it to a cutting board to slice up and serve!
6 Comments
naomi lane
10/27/2020 10:07:24 am

hi!! if my oven only goes to 450 degrees, how much longer should i cook it

Reply
Jane
2/18/2021 06:33:11 am

I am not sure since I've never attempted to cook it at that temp! I would recommend trying 5 minute increments past the original cooking time and checking on it to make sure it's not burning! If you're able to remove it from the original baking sheet to check, and find the bottom isn't as crispy as you like (happened to me once) I recommend putting it on a cooling rack and then placing that in the oven so the heat gets to the bottom faster and crisps it up!

Reply
Sherri
11/11/2020 10:25:18 am

FYI for those trying this recipe out. I used a ceramic baker pan and the heat from the bottom of the oven cracked it in half.

Reply
Jane
2/18/2021 06:29:23 am

I'm so sorry this happened!! I recommend a baking sheet in the instructions because the heat on this one is super high and I could see how a ceramic pan might break. Maybe I'll add a warming to the instructions but thanks for flagging this!!

Reply
Marina Teramond link
4/28/2021 10:20:35 am

Great pizza recipe! This weekend I will definitely make a pizza for my family according to your recipe! Thank you!

Reply
Sadie
6/1/2021 06:39:24 pm

Hi! Thank you for sharing this recipe- I have a question on step 10. After you've cooked the pizza for six minutes and move it up to the lowest rack, how much longer abouts should you cook it? Thank you in advance!!

Reply


Leave a Reply.

    Connect

    CONTACT FORM
    If you’d like to use my photos & recipes, please ask or link back to this site. Thank You.

    Calendar

    August 2022
    July 2022
    June 2022
    May 2022
    April 2022
    March 2022
    February 2022
    January 2022
    October 2021
    September 2021
    July 2021
    June 2021
    March 2021
    February 2021
    January 2021
    December 2020
    November 2020
    October 2020
    September 2020
    August 2020
    July 2020
    June 2020
    May 2020
    April 2020
    March 2020
    February 2020
    January 2020
    December 2019
    September 2019
    August 2019
    July 2019
    June 2019
    May 2019
    April 2019
    March 2019
    September 2018
    August 2018
    July 2018
    June 2018
    May 2018
    April 2018
    March 2018
    February 2018
    January 2018
    December 2017
    October 2017
    August 2017
    May 2017
    April 2017
    February 2017
    December 2016
    November 2016
    June 2016
    April 2016
    January 2016
    June 2015
    April 2015
    March 2015
    February 2015
    January 2015

    RSS Feed

FOODS OF JANE

mostly noodles
foodsofjane, llc  |  © Copyright 2021 |  Contact@FoodsOfJane.com

  • Home
  • Recipes
  • CLE
  • Contact